Simple Audio Augmentation with PyTorch
No matter if you are training a model for automatic speech recognition or something more esoteric like recognizing birds from sound, you could benefit a lot from audio data augmentation. The idea is simple: by applying random transformations to your training examples, you can generate new examples for free and make your training dataset bigger.
In computer vision, for example, images can be randomly cropped, rotated… colors can be distorted, and so on. Of course, transformations should not be so destructive as to change the label of the example. If the label for one image is ‘dog’, the resulting image after transformations should still display a recognizable dog (you don’t want a picture of a pink tail).
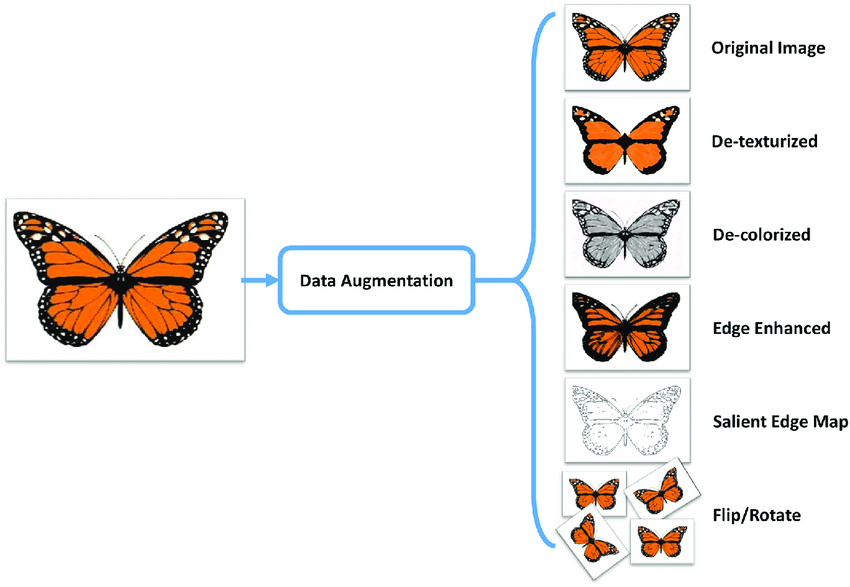
Data augmentation for images (Source)
Augmenting your dataset can often provide much more benefits than just tweaking your model architecture or hyperparameters. Andrej Karpathy, Tesla’s AI chief, goes so far as calling data augmentation the best thing you can do to prevent overfitting (excluding getting new real data), before other regularization techniques such as dropout, weight decay, early stopping…
Three easy-to-apply audio transformations
Data augmentation does not have to be difficult, and from my own experience, the simplest techniques usually work better (on top of being easier to debug). In this tutorial, we will use PyTorch’s torchaudio library to implement some of these techniques in only a few lines of code.
For demo purposes, we will use a ~30s speech sample downloaded from the Open Speech Repository. First, let’s load the audio data along with the sample rate of the recording:
import torchaudio

audio_data, sample_rate = torchaudio.load('OSR_us_000_0010_8k.wav')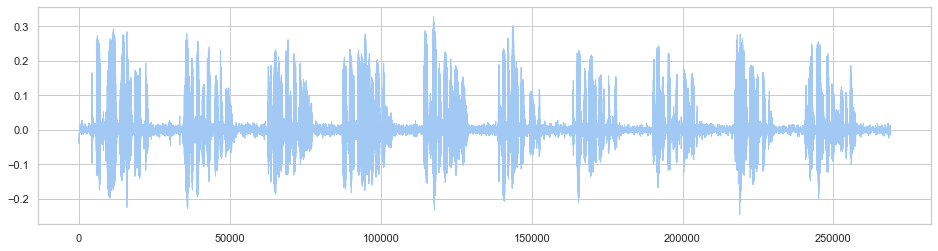
1. Random clipping
A very simple yet effective technique I use whenever training audio/speech models is taking a random segment of the audio clip. Not only this makes the model much more robust to time-shifting, it is also a neat way to batch audio files with different durations and prevent the use of padding which can create its own problems. If you don’t care about having the same length for each audio file, you could also apply PyTorch’s included Voice Activity Detector to trim silences at the beginning and end of the clipped segment.
import random
import torchaudio

class RandomClip:
    def __init__(self, sample_rate, clip_length):
        self.clip_length = clip_length
        self.vad = torchaudio.transforms.Vad(
            sample_rate=sample_rate, trigger_level=7.0)

    def __call__(self, audio_data):
        audio_length = audio_data.shape[0]
        if audio_length > self.clip_length:
            offset = random.randint(0, audio_length-self.clip_length)
            audio_data = audio_data[offset:(offset+self.clip_length)]

        return self.vad(audio_data) # remove silences at the beggining/end

clip_transform = RandomClip(sample_rate, 64000) # 8 seconds clip
transformed_audio = clip_transform(audio_data)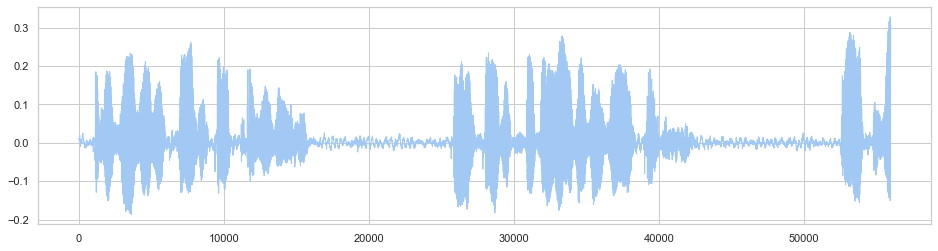
Of course, you should make sure that clipping the audio won’t change the label. For tasks like speaker or language identification, this should not be a problem. But if you are training a speech recognition system, for instance, make sure that you also clip the transcription accordingly to preserve the integrity of the data.
2. Speed perturbation
Torchaudio lets you apply all sorts of effects on audio such as changing the pitch, applying low/high pass filter, adding reverberation, and so on (full list here). One particularly effective technique for speech-based applications, however, is to just change the speed of the audio signal.
Indeed, it has been shown that producing two augmented versions of the original dataset with speed factors of 0.9 and 1.1 could significantly improve speech recognition, more than other more complicated methods based on vocal tract lengths.
import random

class RandomSpeedChange:
    def __init__(self, sample_rate):
        self.sample_rate = sample_rate

    def __call__(self, audio_data):
        speed_factor = random.choice([0.9, 1.0, 1.1])
        if speed_factor == 1.0: # no change
            return audio_data

        # change speed and resample to original rate:
        sox_effects = [
            ["speed", str(speed_factor)],
            ["rate", str(self.sample_rate)],
        ]
        transformed_audio, _ = torchaudio.sox_effects.apply_effects_tensor(
            audio_data, self.sample_rate, sox_effects)
        return transformed_audio

speed_transform = RandomSpeedChange(sample_rate)
transformed_audio = speed_transform(audio_data)
The following is the original audio file with speed increased by a factor of 1.1.
3. Background noise
We could just add auto-generated noises like white noise in the background, but adding real noises and sounds can increase a lot the robustness of models. Especially important is to have a large enough library of noises so that the model very rarely sees the same noise twice during training. Fortunately, there exists tons of free sound databases online. I strongly recommend MUSAN, a large 11GB collection of music, speech, and noise recordings.
The following transform will pick a random noise file from a given folder and will apply it to the original audio file. For added diversity, it will also choose a random signal-to-noise ratio (from a given range) to apply noises at a different volume compared to the original signal.
import math
import os
import pathlib
import random
import torch

class RandomBackgroundNoise:
    def __init__(self, sample_rate, noise_dir, min_snr_db=0, max_snr_db=15):
        self.sample_rate = sample_rate
        self.min_snr_db = min_snr_db
        self.max_snr_db = max_snr_db

        if not os.path.exists(noise_dir):
            raise IOError(f'Noise directory `{noise_dir}` does not exist')
        # find all WAV files including in sub-folders:
        self.noise_files_list = list(pathlib.Path(noise_dir).glob('**/*.wav'))
        if len(self.noise_files_list) == 0:
            raise IOError(f'No .wav file found in the noise directory `{noise_dir}`')

    def __call__(self, audio_data):
        random_noise_file = random.choice(self.noise_files_list)
        effects = [
            ['remix', '1'], # convert to mono
            ['rate', str(self.sample_rate)], # resample
        ]
        noise, _ = torchaudio.sox_effects.apply_effects_file(random_noise_file, effects, normalize=True)
        audio_length = audio_data.shape[-1]
        noise_length = noise.shape[-1]
        if noise_length > audio_length:
            offset = random.randint(0, noise_length-audio_length)
            noise = noise[..., offset:offset+audio_length]
        elif noise_length < audio_length:
            noise = torch.cat([noise, torch.zeros((noise.shape[0], audio_length-noise_length))], dim=-1)

        snr_db = random.randint(self.min_snr_db, self.max_snr_db)
        snr = math.exp(snr_db / 10)
        audio_power = audio_data.norm(p=2)
        noise_power = noise.norm(p=2)
        scale = snr * noise_power / audio_power

        return (scale * audio_data + noise ) / 2

noise_transform = RandomBackgroundNoise(sample_rate, './noises_directory')
transformed_audio = noise_transform(audio_data)
The following audio example is the original file with a randomly added sound of a crowd in the background.
Combine transformations
The beauty of PyTorch’s transforms design pattern is that you can easily combine them. From this simple set of three transformations, we could generate an infinite number of diverse-enough examples by applying transformations on the fly during training.
class ComposeTransform:
def __init__(self, transforms):
self.transforms = transforms
def __call__(self, audio_data):
for t in self.transforms:
audio_data = t(audio_data)
return audio_data
compose_transform = ComposeTransform([
RandomClip(sample_rate=sample_rate, sequence_length=64000),
RandomSpeedChange(sample_rate),
RandomBackgroundNoise(sample_rate, './noises_directory')])
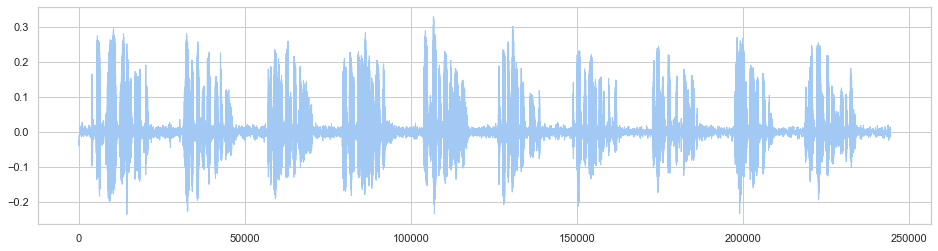
transformed_audio = compose_transform(audio_data)The following audio examples were all generated from the same original audio file.
More advanced augmentation
In my experience, these simple techniques should already bring you quite far. If you want to go further, there exists external libraries to apply more sophisticated effects, although they might not translate into better model performance and generalization. The official torchaudio tutorial also describes an interesting method to apply room reverberation from a dataset of room impulse responses (someone clapping hands in an empty room). Keep in mind that you need clean audio recording for this to work properly.
It is also possible to apply data augmentation techniques directly on the features computed from the audio, rather than on the raw audio itself. SpecAugment for example apply transformations directly on the spectrogram of the audio signal, such as time or frequency masking. Torchaudio also comes with a convenient SpecAugment implementation.
The future is bright! As the field of machine learning is moving more and more towards a data-centric approach rather than model-centric, new techniques and resources will likely appear in the near future to help with setting up better and faster data augmentation pipelines.